I love to pick up signs at thrift stores, or at big name chain stores like Hobby Lobby, Big Lots and Dollar Tree, especially after a major holiday and the store is changing over stock. Everyone loves a clearance price, right?
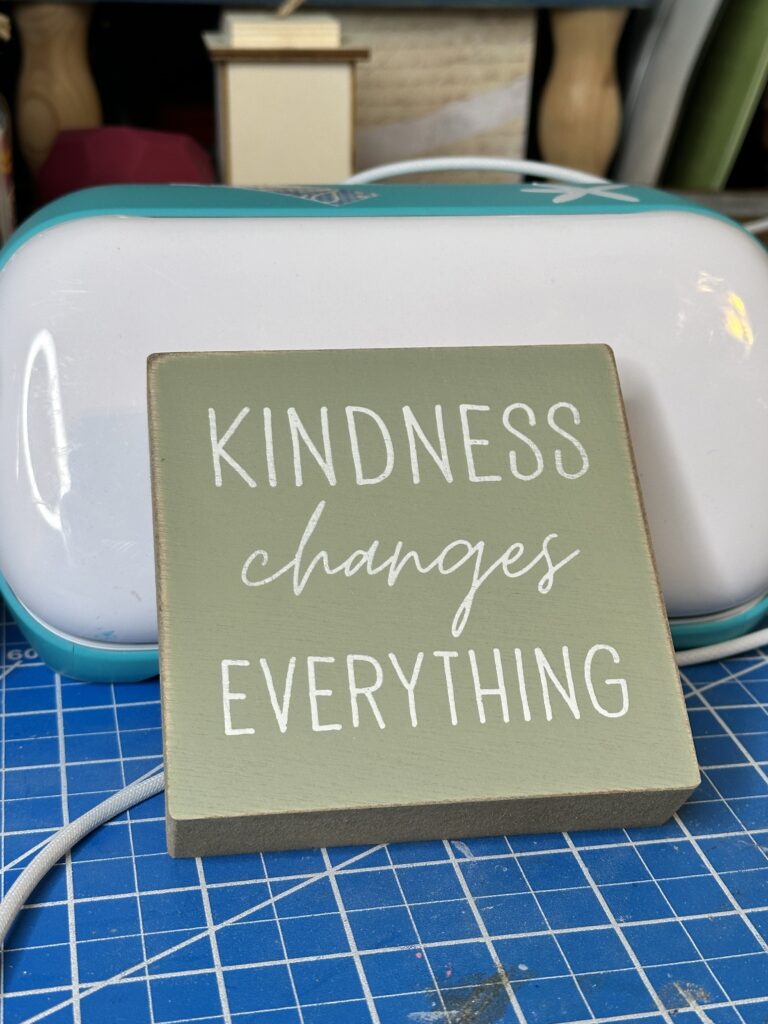
I was recently at a day of classes for work, and there were door prizes. I got a lovely soap and washcloth set and the person next to me got this block sign. We looked at each other and instantly knew we wanted to switch. I told her I’d make it into something different, and this is what I came up with. I love a coastal vibe, of course, and this turned out to be the perfect shelf sitter to sit in my office windowsill. Best of all, it was super easy to make, especially using SVG designs and my vinyl cutting machine.
Supplies You’ll Need:
- A sign or piece of wood you can use as a sign
Possibly a sanding block or piece of sandpaper - Paint in your choice of colors
- A decorative napkin, piece of cardstock, a stencil, or something made with your Cricut or Silhouette, an SVG design, and any tools you’d use for that
- Ribbons, twine, or any embellishments you’ll want to use
Easy Peasy Sign Making
You can make so may things into a sign — like a picture frame with pretty cardstock for a background, a sign you want to give a makeover, or even a piece of wood (scrap wood or even a Dollar Tree find). Making your own home decor means you will have pieces that fit in perfectly.
For my sign makeover, I used this wood block sign. And I have this thing about making items two sided whenever I can. Why waste that second side if you can make it pretty too?
First, let’s do the prep work
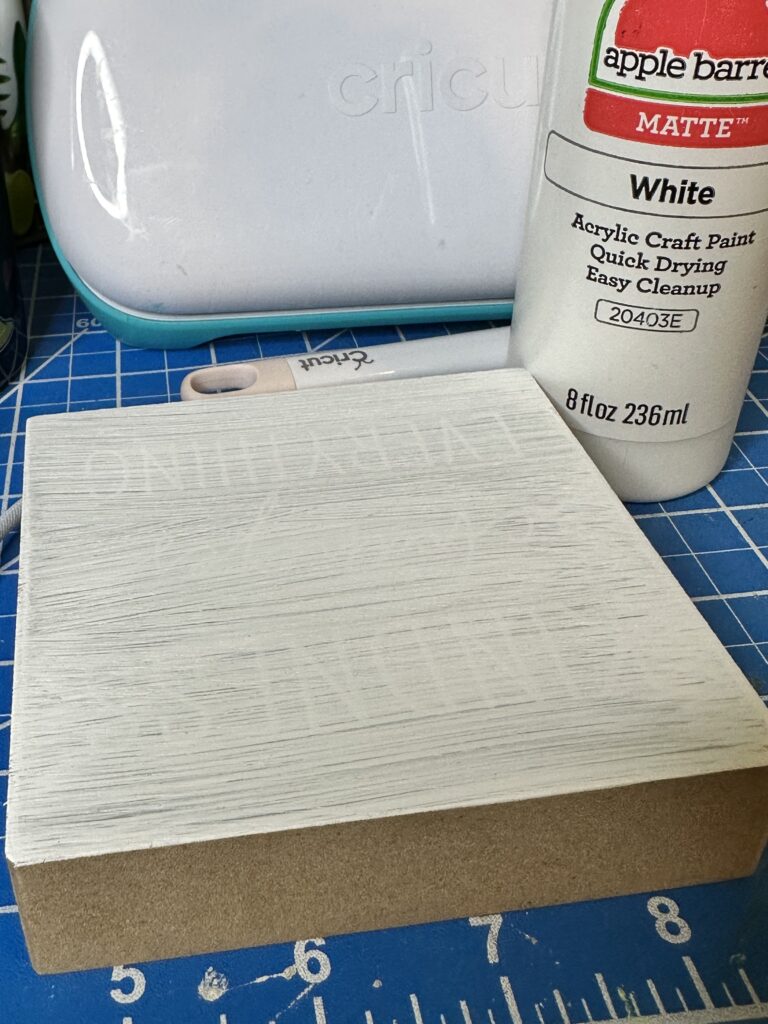
If you’re remaking a sign or if you’re using a piece of wood, you may need to do some sanding. You can totally do this without any power tools. Just grab a sanding block or piece of sandpaper and rub off any design or colors you don’t want showing though. Also take time to smooth out any rough edges or splintery pieces. Once your piece is all smooth, wipe it down if needed to remove any leftover dust. Now we’re ready to give an old piece new life!
Paint it up
Use any kind of paintbrush you’re comfortable with. I often use a foam brush, mostly because they’re easy to wash up and because they don’t leave as many brush strokes. Chalk paint offers better coverage, but I didn’t have much white chalk paint, so I used acrylic. I ended up doing three coats on the side that had the design, and just two coats on the rest of this block. Once that was completely dry, I was ready to decorate. And of course, use stain on a piece of raw wood if you’d rather, or even Waverly Antique wax.
Make it your own
Watch all the YouTube videos, read blogs (hopefully mine!) and troll through Pinterest all you want. You’ll find lots of inspiration you can use to make your own projects. If you see something you love and want to make something just like it — that’s great! But don’t be afraid to put your own spin on things. I love blue and green and I thought the white background would make those colors pop. But if you love pink and purple, use pink and purple! And if you live in the mountains and want to use a bear instead of an octopus, then use a bear.
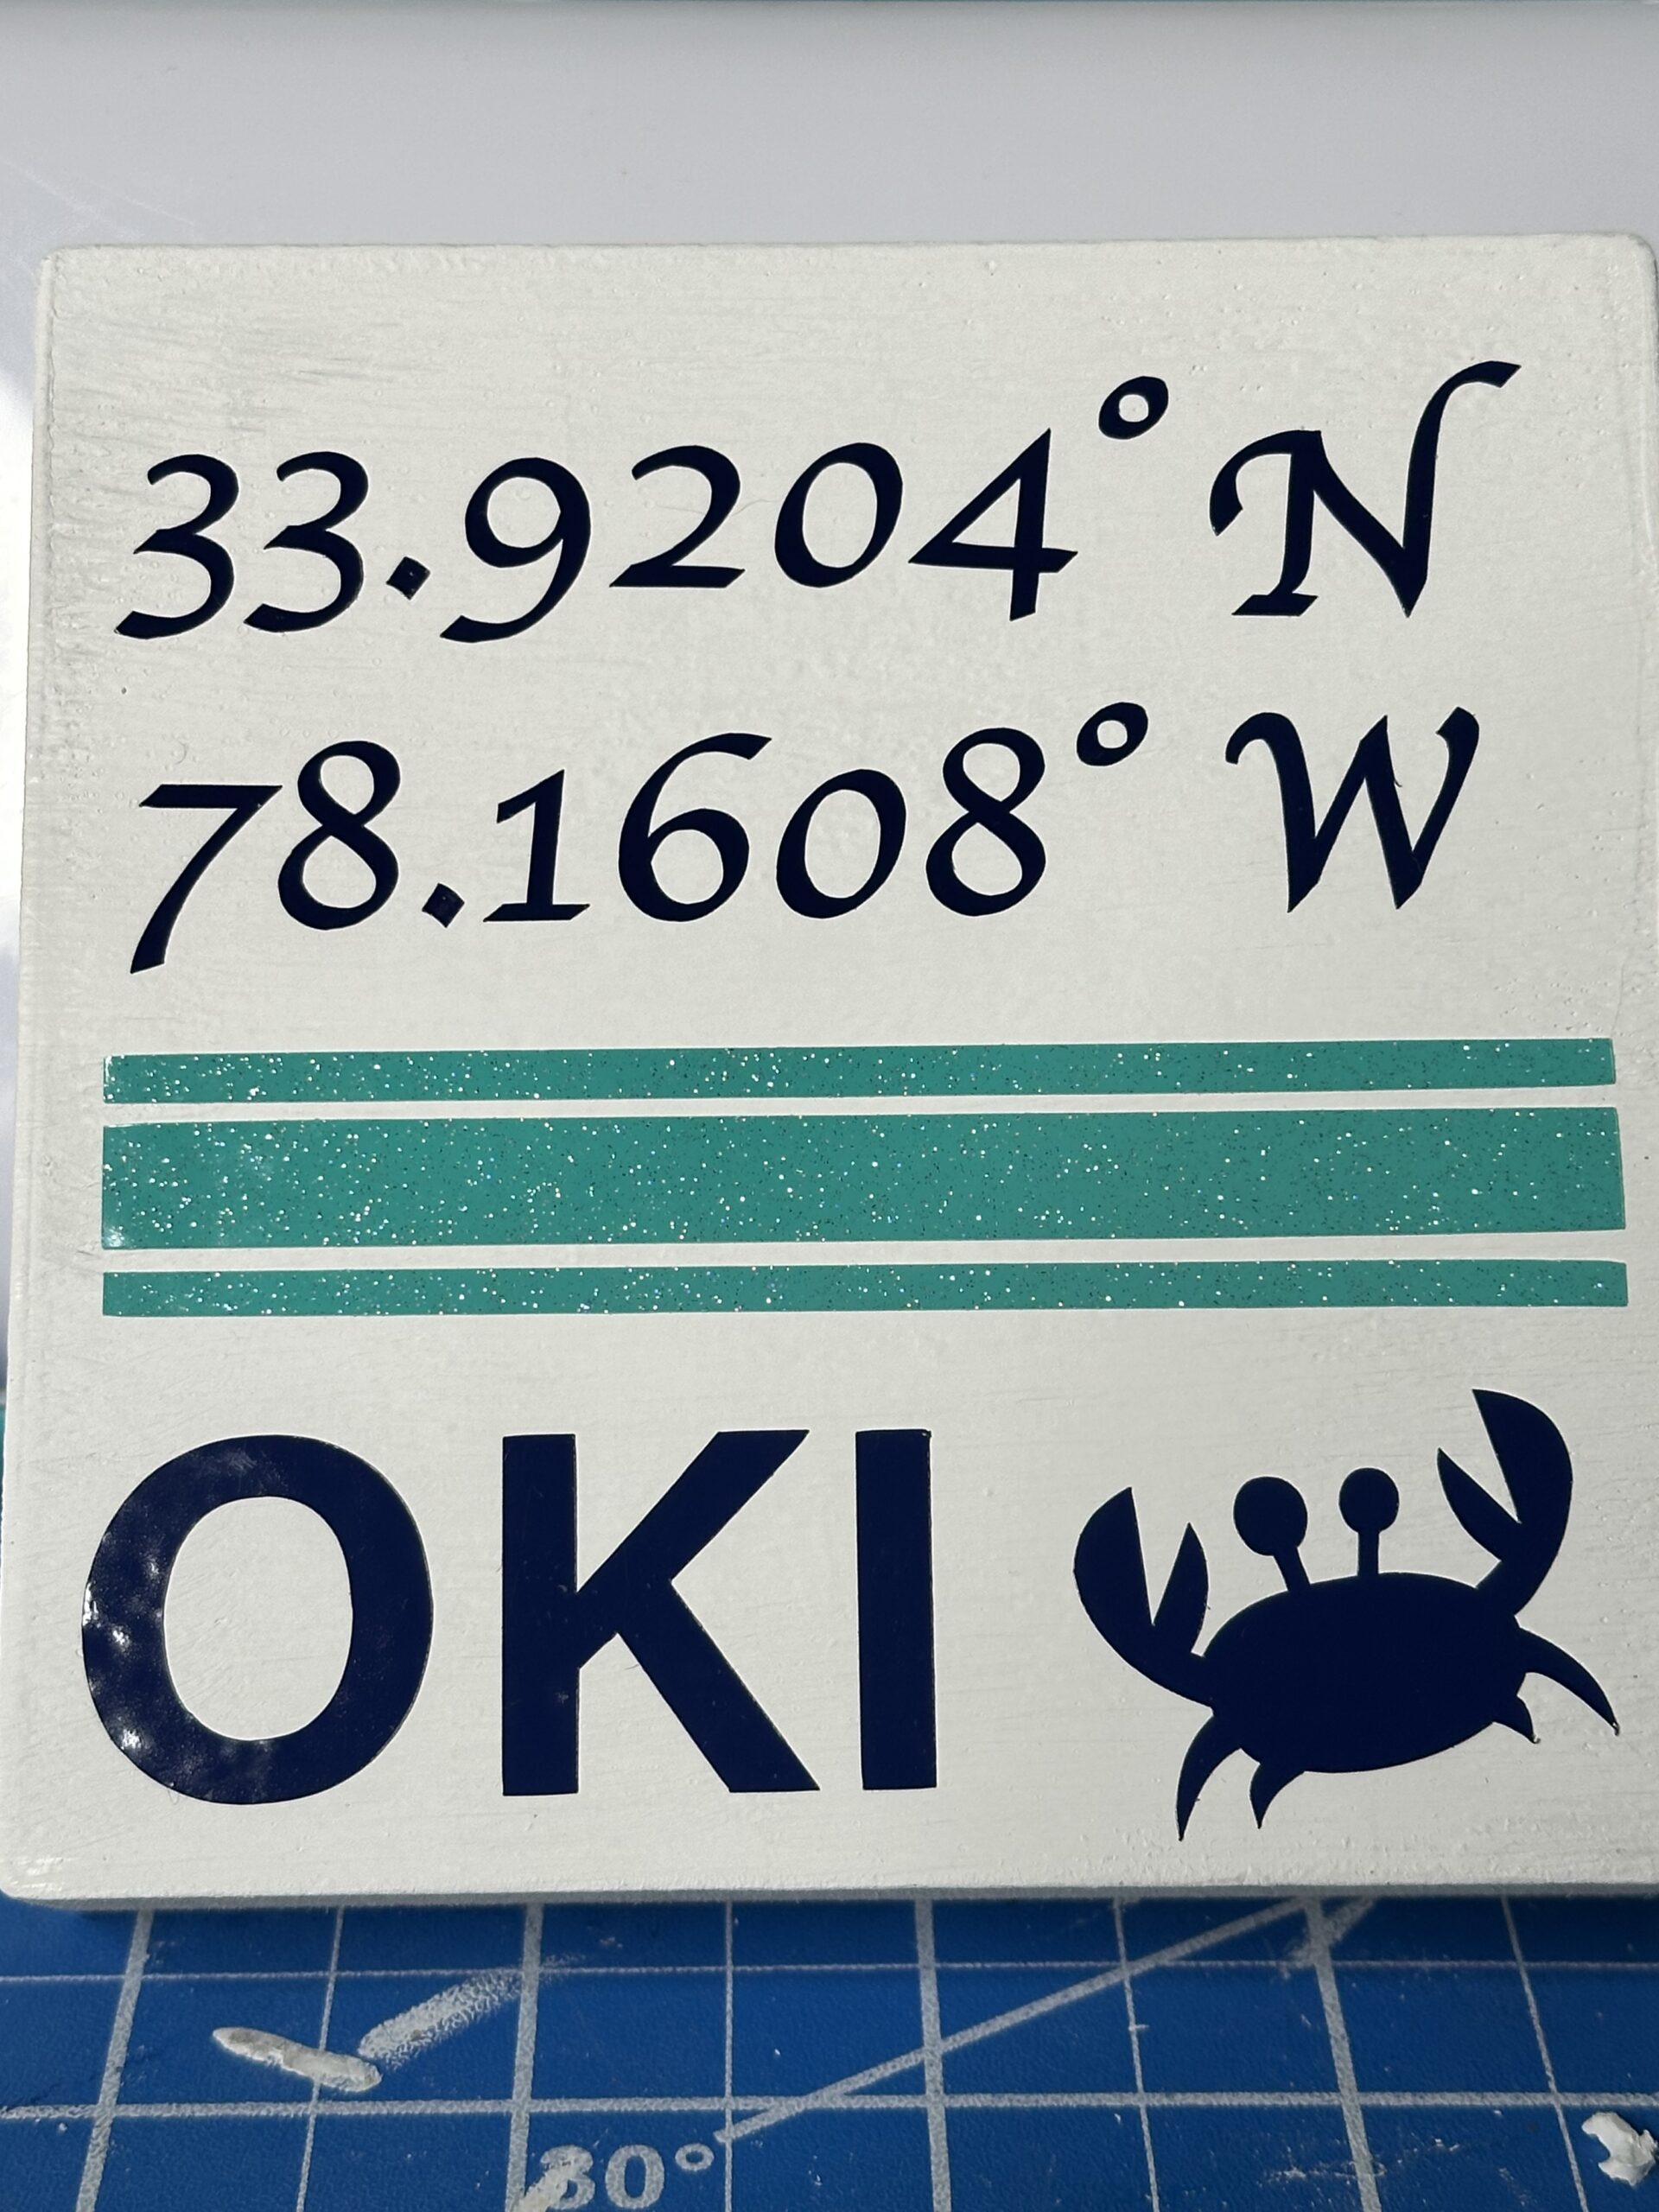
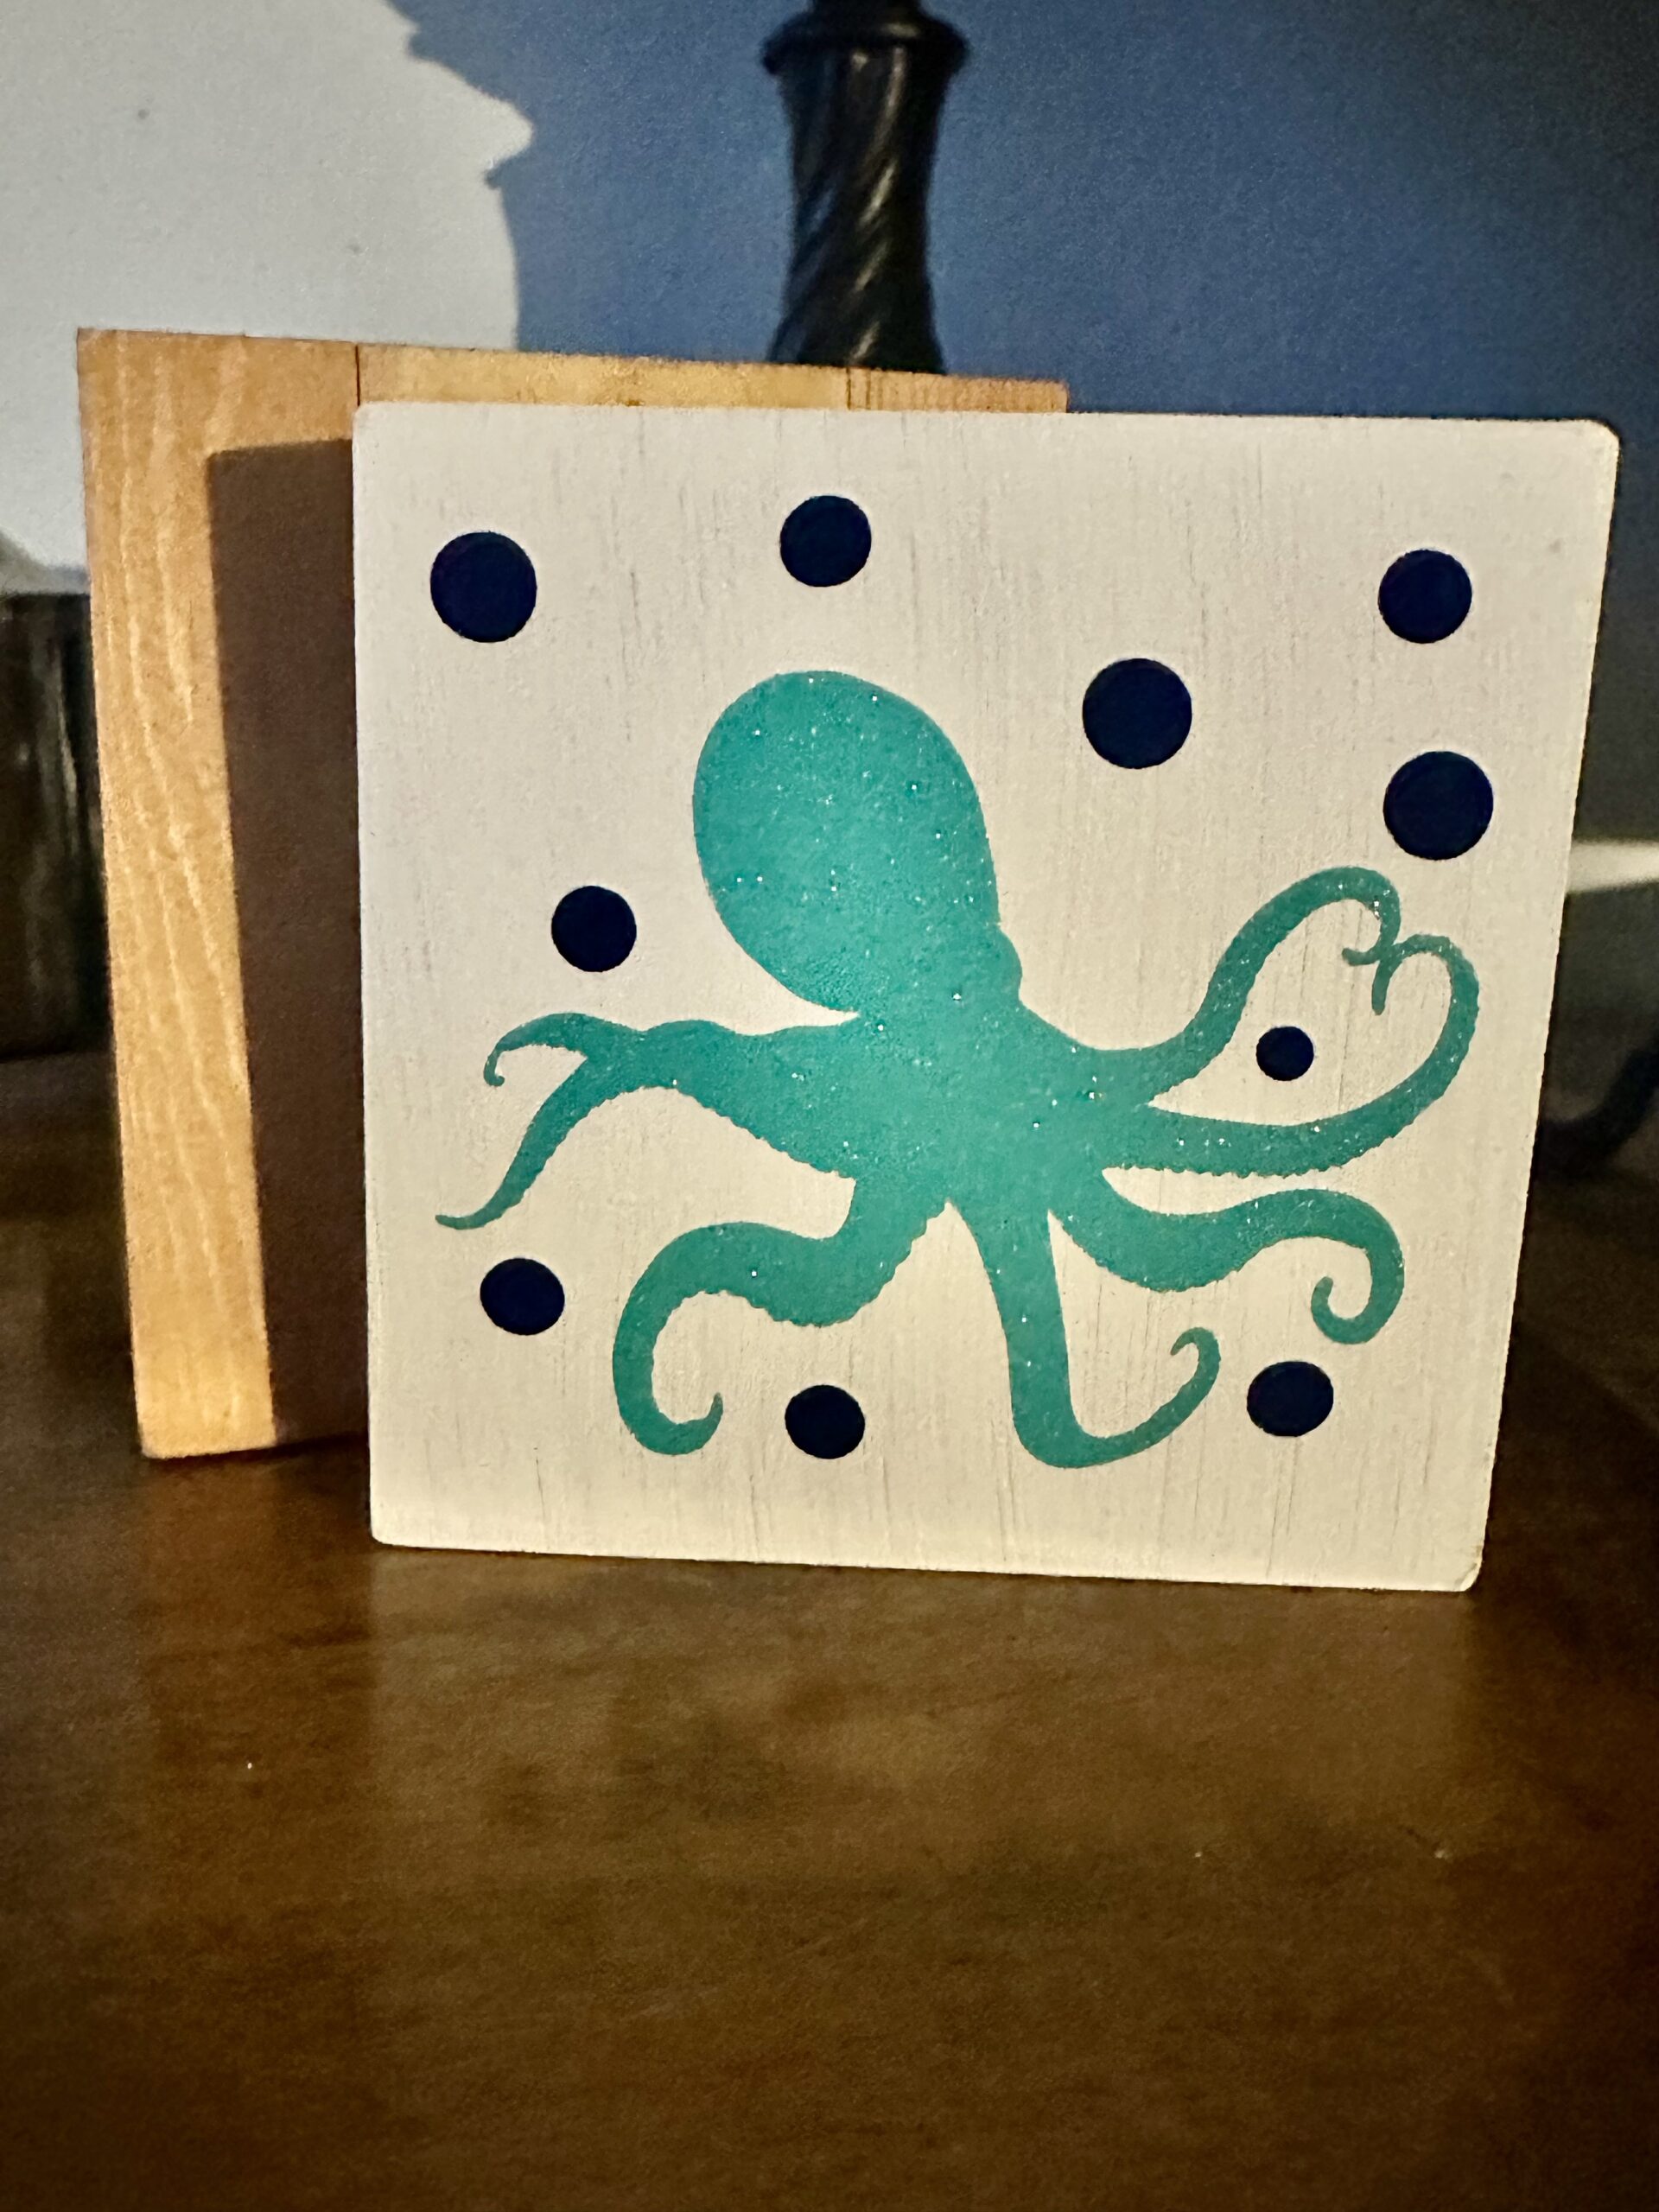
I didn’t already have an octopus design, so I did buy that. But I made the coordinates design myself, and you can check out a similar design here. And if you want coordinates for a particular town, like your hometown or your favorite vacation spot, just drop me a line at lisa@harbor33designs.com and I’ll be happy to get it listed in my shop on Etsy or Design Bundles.
I used my Cricut Joy to cut out everything in vinyl. The Joy is great for doing smaller projects like this one. It’s a smaller machine, which means you can leave it out on your work space without it getting in the way. Weeding out that octopus in glitter vinyl was more of a challenge than I expected, so I had to go slower and be patient, but I got it done!
Finishing touches
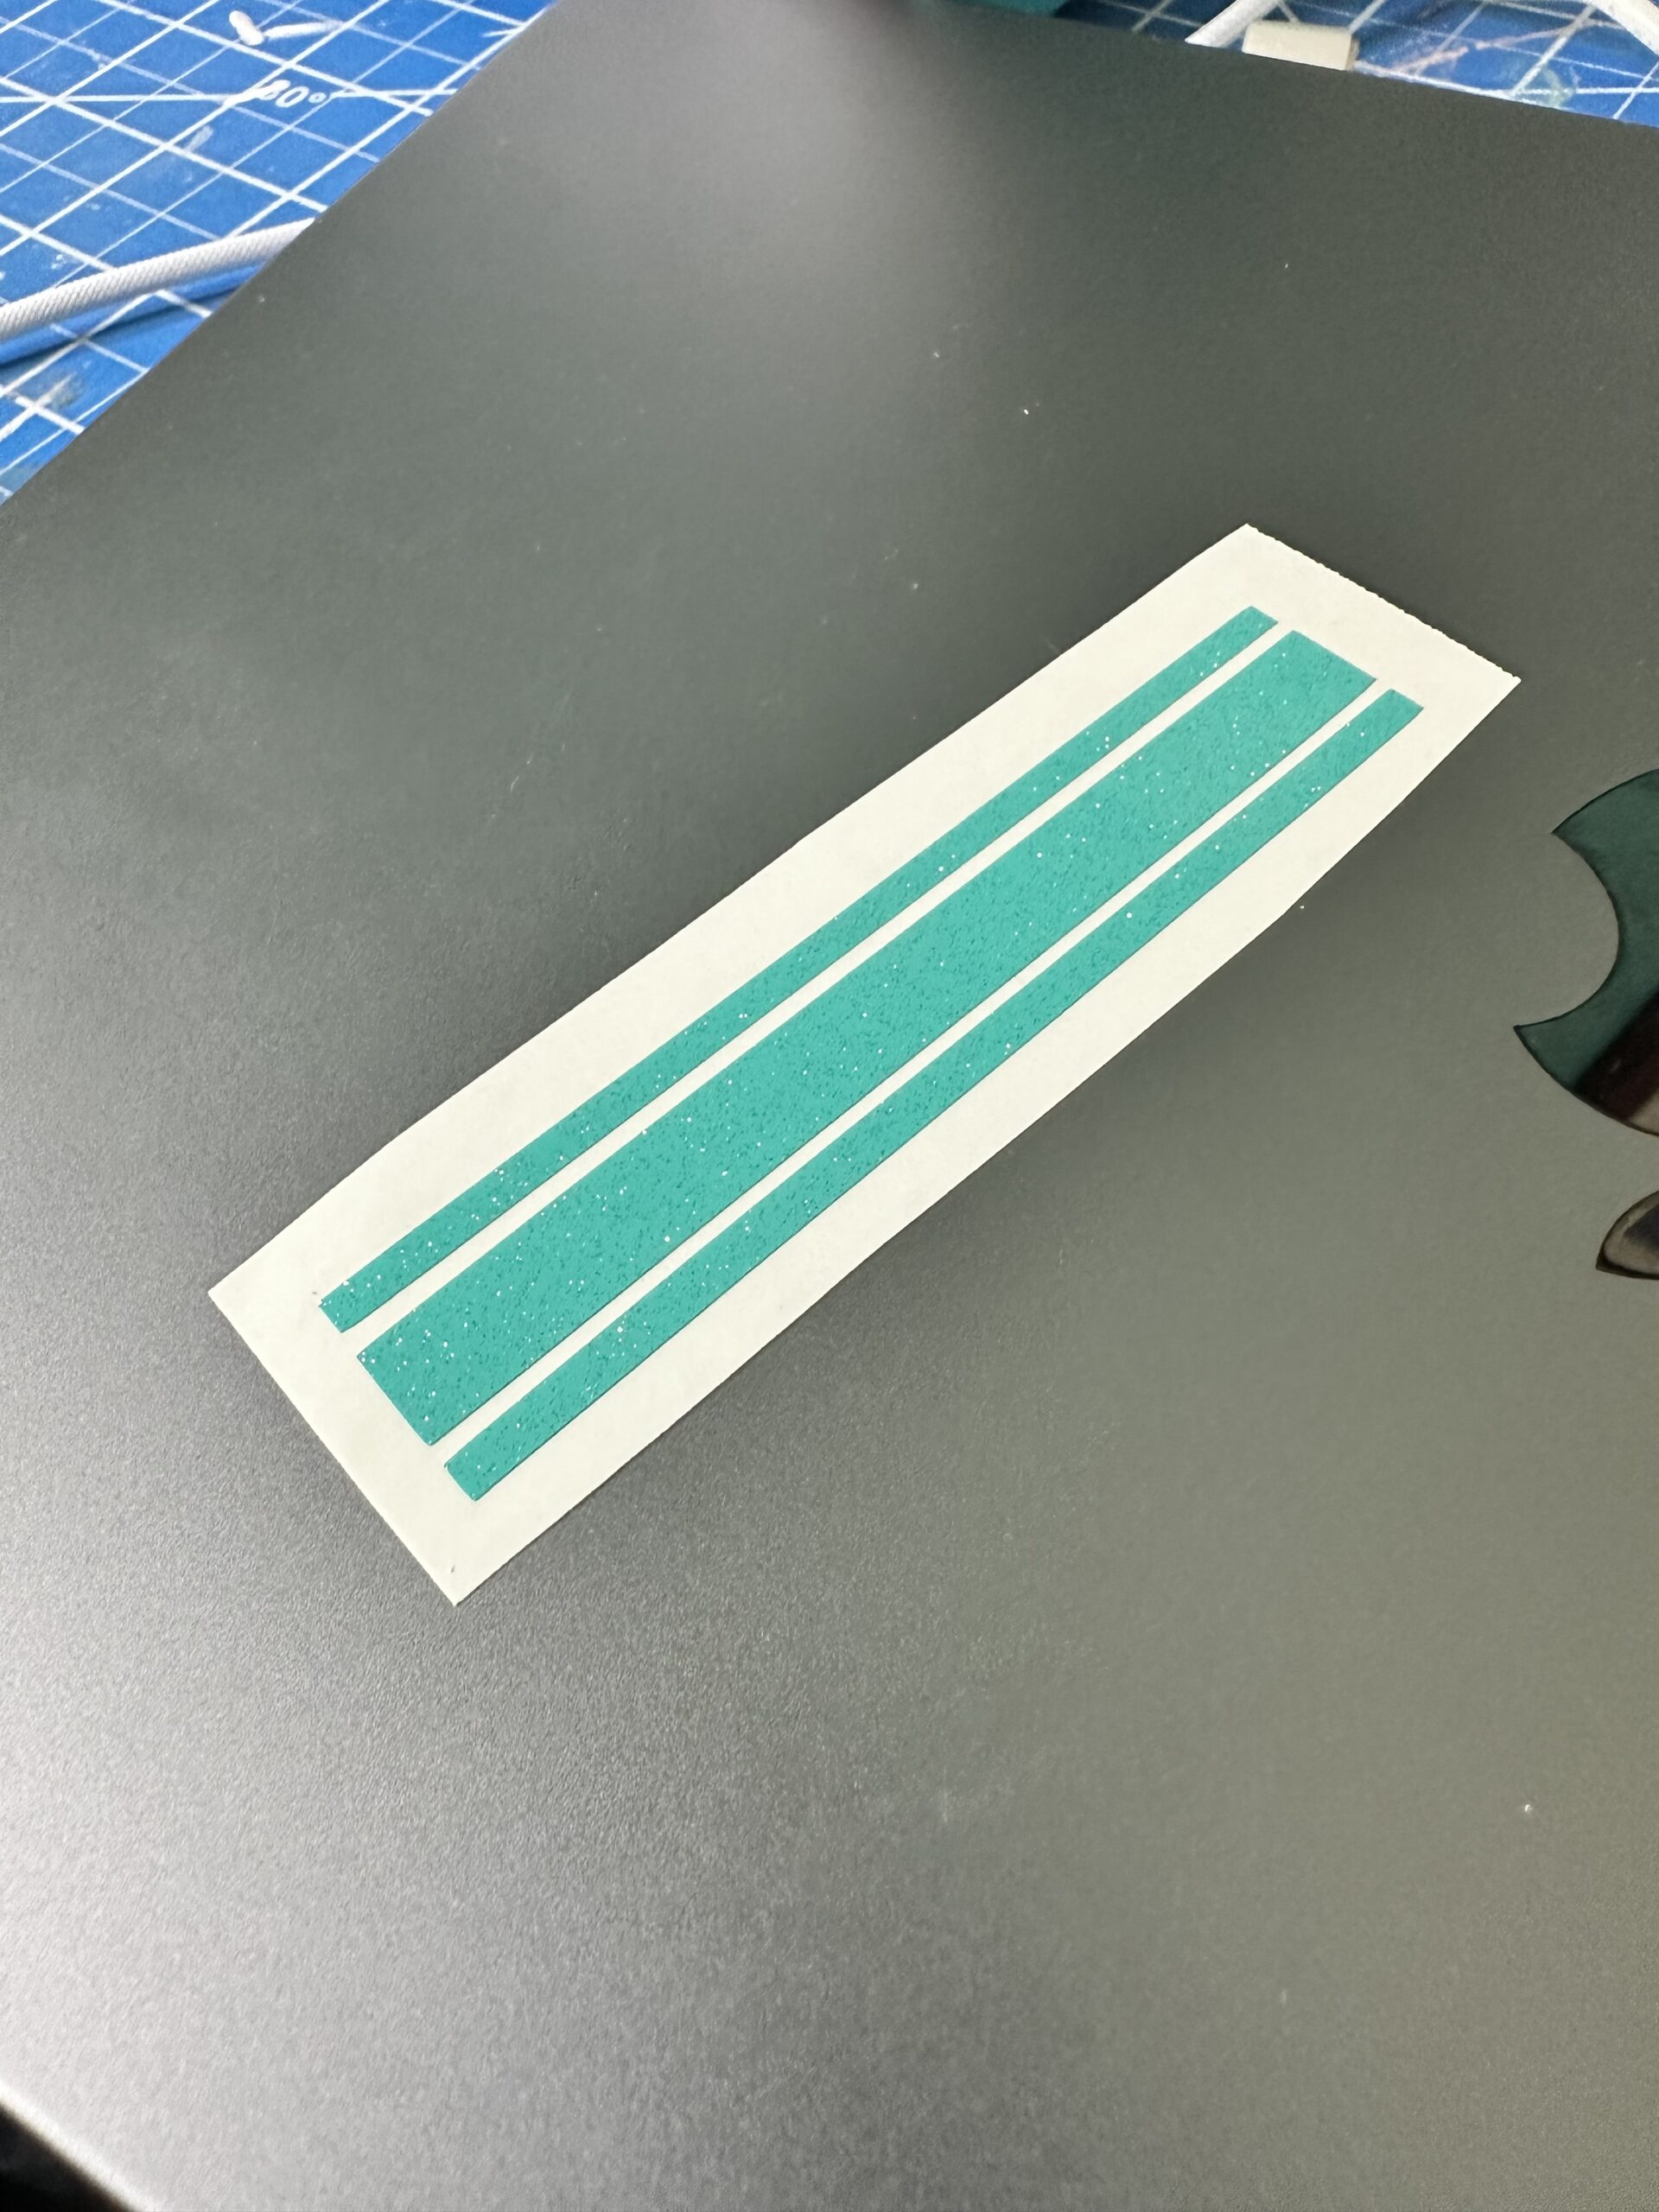
There are lots of things you could do to embellish this. Make a messy bow for the top, glue down skinny ribbons down all the sides, add a small bow on each design side — so many options! I decided to keep my plain. It might be hard to see from the photos, but I used this glitter vinyl from Expressions Vinyl for the ticking stripes, so I thought that was enough bling for me.
So go make your own signs and decor! It’s easy! And share pictures of what you make — I’d love to see them. And check out other ideas for making your own decor.